Sizzling chicken thighs fill the kitchen with a mouthwatering aroma. I just pulled out my Sticky Cherry Chicken Thighs, and trust me, they won’t last long on the table.
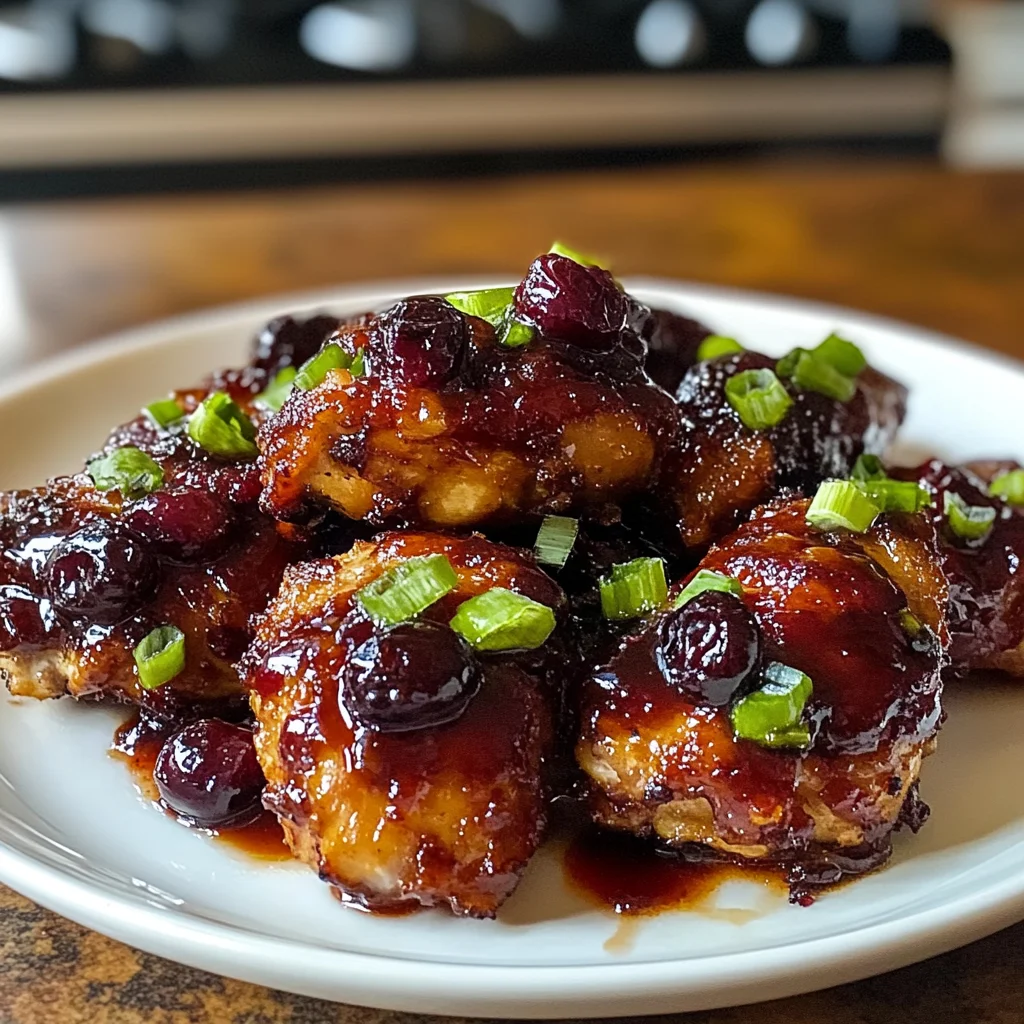
This dish is perfect for weeknights when you have 30 minutes and zero plan (I mean, who hasn’t been there?). Unlike other recipes that take ages to prep or use complicated marinades, this one’s super straightforward with just five easy ingredients in the sauce. So, grab your skillet and get ready to dig in. Dinner’s sorted!
Why You’ll Love This Sticky Cherry Chicken Thighs
- Super Easy Prep: Just season, sear, and bake! Seriously, you can whip this up in under an hour.
- Sticky-Sweet Goodness: The cherry sauce is a total flavor bomb — it’s sweet and savory with just the right kick.
- Crispy Skin: That skin gets nice and crisp while the inside stays juicy and fork-tender. You won’t want to skip the skin!
- Meal Versatility: Serve it over rice, toss it into a salad, or make sandwiches. It’s great for whatever you’ve got going on.
- One Caveat: While it tastes amazing as leftovers, the chicken skin loses its crispiness in the fridge (still delicious though!).
Sticky Cherry Chicken Thighs Ingredients
For the Chicken:
chicken thighs (4 pieces) — Go for bone-in, skin-on thighs for juiciness; boneless will dry out fast.
salt (1 teaspoon) — Don’t skimp on salt, or the dish’ll taste flat and lifeless.
black pepper (1/2 teaspoon) — Fresh ground black pepper’s a must—pre-ground won’t pack the same punch.
olive oil (2 tablespoons) — Use a good quality extra virgin olive oil; cheap stuff’ll ruin the flavor.
For the Sauce:
cherry preserves (1 cup) — Stick with cherry preserves, or don’t even think about using another fruit.
soy sauce (1/4 cup) — Kikkoman soy sauce’s your best bet; low-sodium just won’t cut it here.
apple cider vinegar (2 tablespoons) — Use real apple cider vinegar, or the dish’ll lack that zingy kick.
garlic (2 cloves) — Fresh garlic’s key—powdered won’t give you that aromatic depth.
ginger (1 teaspoon) — Grate fresh ginger for a zing; don’t even think about using dried.
For Garnish:
green onions (2 tablespoons) — Chop those green onions just before serving for a fresh crunch; soggy ruins it.
Full measurements in the recipe card below.
How to Make Sticky Cherry Chicken Thighs
1. Preheat Oven: Preheat your oven to 400°F (200°C). This helps the chicken cook evenly and get that nice crispy skin.
2. Season Chicken: Season the chicken thighs with salt and black pepper on both sides. Don’t skimp on the seasoning—this makes a big difference!
3. Sear Chicken: In a large oven-safe skillet, heat olive oil over medium-high heat. Add the chicken thighs, skin-side down, and sear for about 5-7 minutes until golden brown (you’ll hear that satisfying sizzle).
4. Flip Chicken: Flip the chicken and sear for an additional 5 minutes. And don’t rush this step — if you do, you might miss out on that perfect crispy skin.
5. For the Sauce: While the chicken’s searing, combine cherry preserves, soy sauce, apple cider vinegar, minced garlic, and grated ginger in a bowl. Mix well until fully combined — it should look glossy and thick.
6. Combine & Bake: Pour the cherry sauce over the seared chicken thighs in the skillet. Then transfer it all to your preheated oven and bake for 20 minutes or until the chicken’s cooked through (it should reach an internal temp of 165°F/75°C).
7. Rest & Garnish: Once done, remove from oven and let it rest for about 5 minutes. Garnish with sliced green onions right before serving for that fresh crunch.
Exact quantities in the recipe card below.
How to Store Sticky Cherry Chicken Thighs
- Room Temperature: Don’t leave them out for more than 2 hours. Use an airtight container if you have to, but it’s best to refrigerate right away.
- Refrigerator: Store in an airtight container for up to 3 days. Just a heads up — the sauce might thicken a bit, but it’ll still taste great.
- Freezer: You can freeze the chicken for up to 2 months. Make sure it’s in a freezer-safe bag or container (squeeze out the air) so it doesn’t get freezer burn.
- Reheating: Heat in the oven at 350°F until warmed through (about 15-20 minutes). You’ll know it’s ready when you smell that sticky-sweet cherry sauce again — it’s hard to resist!
Just keep in mind that the skin won’t be as crispy after storage, but trust me, the flavor is still on point!
What to Serve with Sticky Cherry Chicken Thighs?
This dish is sweet and sticky, so I’d recommend sides that add some acidity or texture contrast to balance it out. Here are a few ideas:
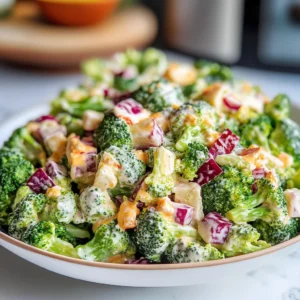
- Garlic Roasted Broccoli: The crisp-tender veggies add a nice bite and some earthy flavors to balance the sweetness.
- Cucumber Salad: Fresh and crunchy, it provides a cool contrast that cuts through the richness of the chicken.
- Brown Rice: Its nutty flavor gives a satisfying base while soaking up all the yummy sauce (15 minutes in a rice cooker).
- Coleslaw: Try a tangy slaw for crunch and acidity; it complements the sticky-sweetness beautifully.
- Quinoa Pilaf: Packed with protein, it adds texture and substance (about 20 minutes to cook) without being too heavy.
- Pickled Radishes: The tartness from quick-pickled radishes brightens each bite. Just let them soak for 30 minutes!
- Sweet Potato Mash: The creaminess pairs well but keep it simple; don’t overload on butter here!
Sticky Cherry Chicken Thighs Variations
Here’s how to play with this recipe and make it your own.
- Spicy Kick: Add 1 teaspoon red pepper flakes to the sauce for a bit of heat.
- Garlic Lover’s Dream: Toss in an extra clove of minced garlic when mixing the sauce for a bolder flavor.
- Honey-Sweetened Delight: Replace half the cherry preserves with honey for a sticky-sweet twist. Mix this in at the same time as the original sauce.
- Tangy Citrus Zing: Squeeze in the juice of 1 orange while combining the sauce for a fresh, zesty note.
- Next Level Glaze: After baking, broil the chicken thighs for 2-3 minutes until caramelized and crispy on top. So good!
- Soy-Free Option: Use coconut aminos instead of soy sauce when making your sauce if you’re avoiding soy.
- Crisp-Tender Veggie Boost: Add some green beans or bell peppers to the skillet during baking for a colorful, tasty side.
Make Ahead Options for Sticky Cherry Chicken Thighs
I like to prep the sauce for my Sticky Cherry Chicken Thighs a day in advance. Just mix the cherry preserves, soy sauce, apple cider vinegar, garlic, and ginger in an airtight container and store it in the fridge. The chicken thighs can be seasoned ahead too—just keep them covered in the fridge. When you’re ready to serve, sear the chicken and pour that delicious sauce over it right before baking. Honestly, the sauce holds well for about 3 days, but I wouldn’t recommend cooking the chicken too early; it’s best fresh from the oven. Trust me on this one: don’t skip that last-minute sear!
Sticky Cherry Chicken Thighs Recipe FAQs
Can I make Sticky Cherry Chicken Thighs ahead of time?
You can prep the chicken and sauce in advance. Just season the thighs and mix the cherry sauce, then store them separately in the fridge for a day or two. When you’re ready to cook, just sear and bake as directed. (Trust me, it’ll still taste great!) But don’t wait too long—raw chicken isn’t something you wanna keep around for too long.
Why did my Sticky Cherry Chicken Thighs turn out dry?
If your chicken’s dry, it’s likely overcooked. Aim for that internal temp of 165°F (75°C); use a meat thermometer if you have one! Also, bone-in, skin-on thighs are key here—they’re juicier than boneless cuts. And remember to let them rest after baking; that helps keep them moist too. Don’t skip that step!
What can I substitute for cherry preserves in this recipe?
Honestly, you should stick with cherry preserves for the best flavor. Other fruits won’t give you that sticky-sweet goodness you’re aiming for here. If you’re really in a pinch, maybe use raspberry preserves, but it’ll change the flavor profile a bit (and not necessarily for the better). Just know it won’t be quite the same.
Do I have to use fresh ginger and garlic?
Yes! Fresh ginger and garlic bring so much flavor to this dish that using dried versions would definitely fall flat (no pun intended). You’ll want that aromatic depth from fresh ingredients. When mixing your sauce, pay attention to how fragrant it gets—that’s when you know it’s gonna be good!
Final Thoughts on Sticky Cherry Chicken Thighs
What really makes this recipe shine is how the cherry preserves create that sticky-sweet glaze, transforming simple chicken thighs into something special. You get all that flavor without spending hours in the kitchen—just sear, bake, and you’re done! If you’ve been putting this off, tonight’s the night. Trust me, once you try it, you’ll want to make it again and again. Drop a comment if you added anything—I’m always curious about your twists!
Sticky Cherry Chicken Thighs
Ingredients
Method
- Preheat your oven to 400°F (200°C).
- Season the chicken thighs with salt and black pepper on both sides.
- In a large oven-safe skillet, heat olive oil over medium-high heat.
- Add the chicken thighs, skin-side down, and sear for about 5-7 minutes until golden brown.
- Flip the chicken and sear for an additional 5 minutes.
- In a bowl, combine the cherry preserves, soy sauce, apple cider vinegar, minced garlic, and grated ginger.
- Mix well until the ingredients are fully combined.
- Pour the cherry sauce over the seared chicken thighs in the skillet.
- Transfer the skillet to the preheated oven and bake for 20 minutes, or until the chicken is cooked through (internal temperature of 165°F/75°C).
- Remove the skillet from the oven and let the chicken rest for 5 minutes.
- Garnish with sliced green onions before serving.