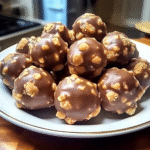
A sweet, crunchy little treasure awaits you in the form of Butterfinger Balls. Imagine biting into a delightful confection that combines the creamy richness of peanut butter with a crisp, chocolatey exterior. It’s a treat that dances on your taste buds and leaves you craving more—perfect for any occasion, whether it’s a casual movie night or a festive celebration.
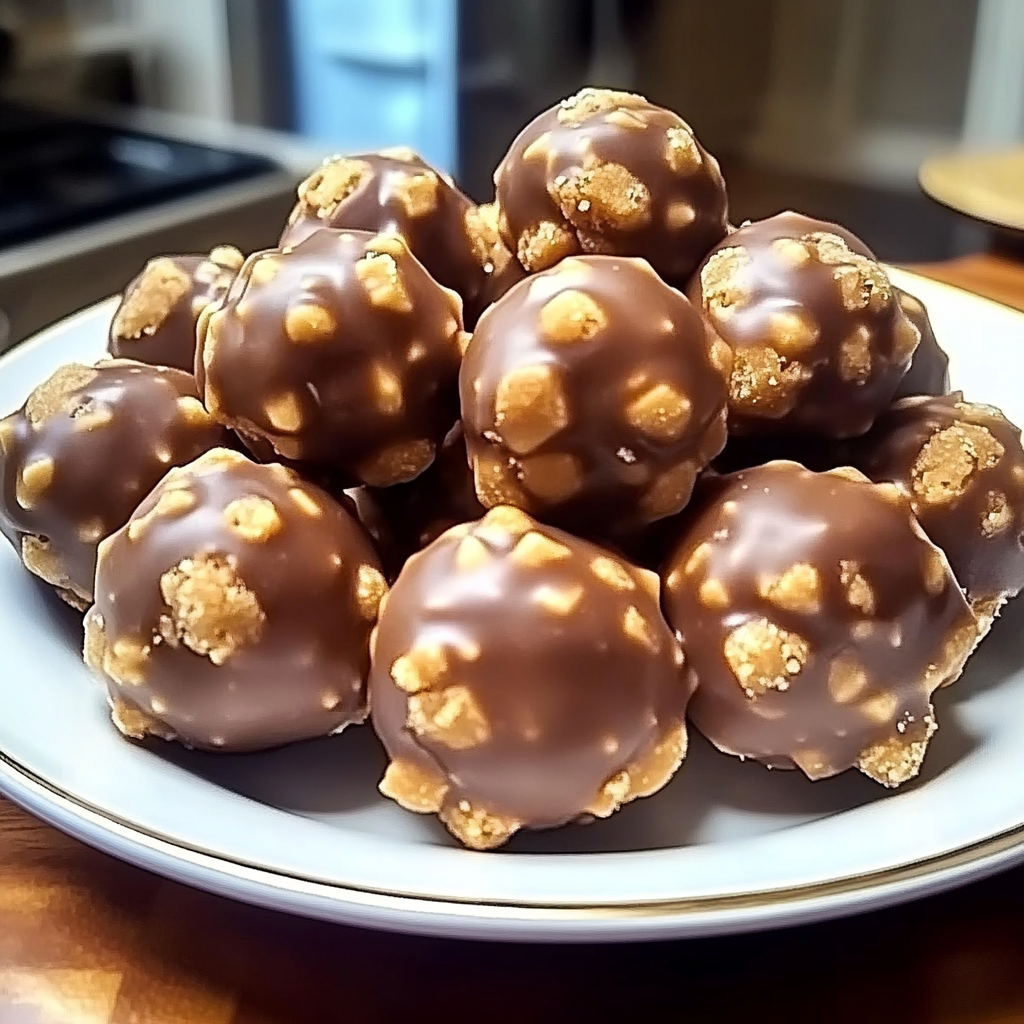
As I reminisce about my childhood, I can vividly recall sneaking Butterfinger bars from my friends’ Halloween candy bags, pretending I was being stealthy but really just exposing my love for all things peanut butter and chocolate. Now, as an adult (sort of), I’ve turned that nostalgic indulgence into these irresistible Butterfinger Balls. Trust me, these little bites of joy will transform any gathering into a legendary dessert party!
Why You'll Love This Recipe
- The ease of preparation makes these treats perfect for last-minute dessert cravings.
- Rich peanut butter flavor combined with chocolate creates a heavenly taste experience.
- Their bite-sized charm makes them visually appealing and easy to serve at parties.
- Enjoy them as a snack or dessert; they fit any occasion beautifully!
Ingredients for Butterfinger Balls
Here’s what you’ll need to make this delicious dish:
-
Graham Cracker Crumbs: These provide the essential crunch and sweetness to mimic the classic Butterfinger texture.
-
Peanut Butter: Use creamy peanut butter for smooth mixing; natural brands work great too!
-
Powdered Sugar: This adds sweetness and helps bind everything together without making it too sticky.
-
Chocolate Chips: Choose semi-sweet or milk chocolate chips for melting and coating the balls.
-
Vegetable Oil: A bit of oil helps to smooth out the melted chocolate for easy coating.
The full ingredients list, including measurements, is provided in the recipe card directly below.
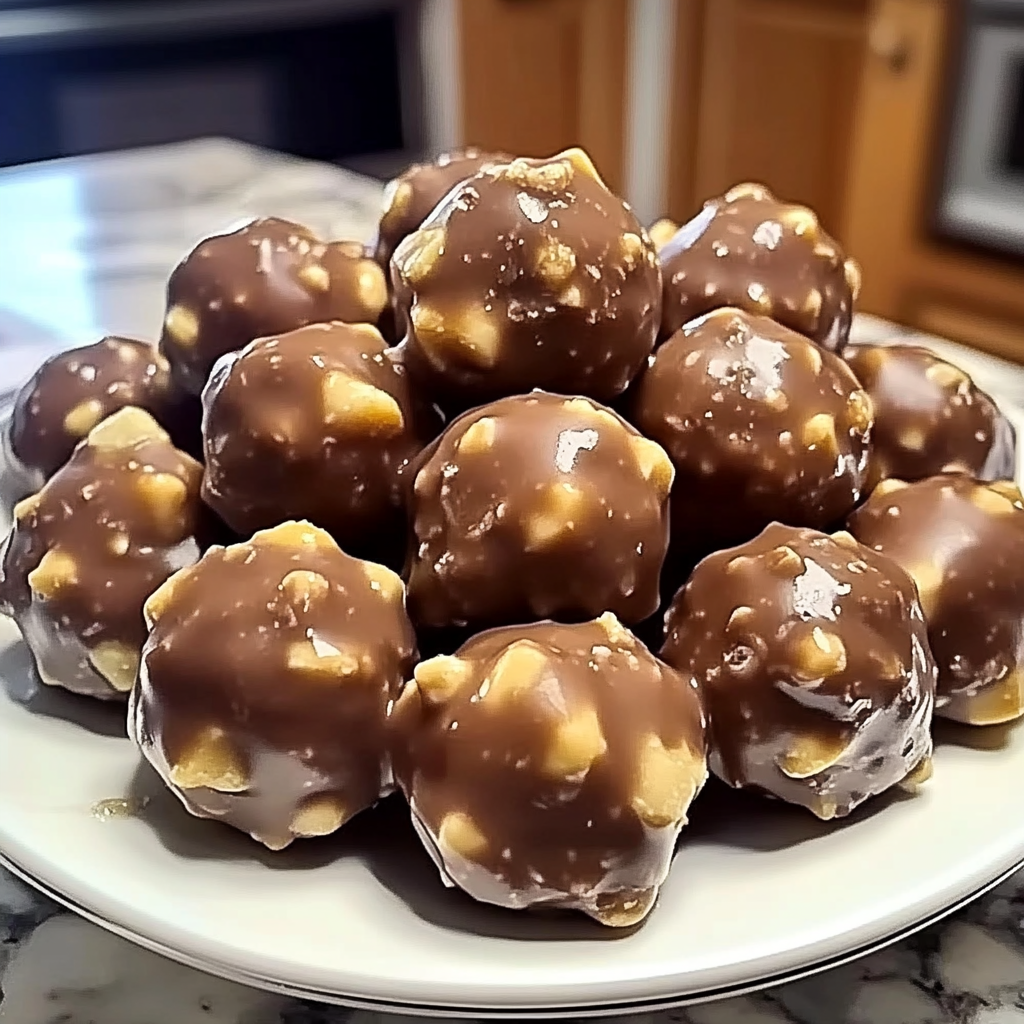
How to Make Butterfinger Balls
Follow these simple steps to prepare this delicious dish:
Step 1: Prepare Your Workspace
Start by clearing your kitchen counter and gathering all your ingredients. You may want to line a baking sheet with parchment paper for easy cleanup later.
Step 2: Mix the Base
In a large bowl, combine graham cracker crumbs, peanut butter, and powdered sugar. Use a spatula or your hands (yes, get messy!) to mix until well-blended and crumbly.
Step 3: Form the Balls
Scoop out tablespoon-sized portions of the mixture and roll them into balls in your hands. Place each ball on the prepared baking sheet and refrigerate for about 30 minutes until firm.
Step 4: Melt the Chocolate
While the balls chill, melt your chocolate chips with a splash of vegetable oil in a microwave-safe bowl. Heat in short bursts of about 30 seconds, stirring until smooth.
Step 5: Coat Each Ball
Once chilled, dip each ball into the melted chocolate using two forks to ensure full coverage. Let any excess chocolate drip off before placing them back on the parchment-lined sheet.
Step 6: Chill Again
Pop those beautifully coated Butterfinger Balls back in the fridge for another hour to set properly.
Transfer to plates and watch as everyone eagerly reaches out for another!
You Must Know
- Butterfinger Balls are the perfect sweet treat for any occasion.
- They combine creamy peanut butter, crunchy Butterfinger pieces, and a chocolate coating that will make your taste buds dance.
- Easy to whip up, these delightful bites bring joy to parties and family gatherings alike.
Perfecting the Cooking Process
Start by mixing peanut butter, powdered sugar, and crushed Butterfinger candy until well combined. Roll the mixture into balls and chill them in the fridge. Once firm, dip each ball in melted chocolate for a smooth, decadent finish.
Add Your Touch
Feel free to experiment with different types of chocolate for coating or add a sprinkle of sea salt on top for an extra flavor punch. You can also substitute almond butter for a nutty twist or add Rice Krispies for extra crunch.
Storing & Reheating
Store Butterfinger Balls in an airtight container in the refrigerator for up to a week. If you want to enjoy them later, freeze them individually wrapped. Just thaw before indulging in their deliciousness.
Chef's Helpful Tips
- To ensure perfect Butterfinger Balls every time, remember to use room temperature ingredients for better mixing.
- Avoid over-melting the chocolate; it should be smooth but not too hot.
- Lastly, chill your balls thoroughly before dipping to maintain shape.
It was my niece’s birthday party when I first made these Butterfinger Balls. Watching her eyes light up as she took her first bite reminded me why I love baking so much—it’s all about creating sweet memories!
FAQs :
What are Butterfinger Balls made of?
Butterfinger Balls are delightful treats made primarily from crushed Butterfinger candy bars, cream cheese, and powdered sugar. The combination creates a rich and creamy filling that perfectly mimics the taste of the beloved candy. After forming the mixture into balls, they are typically coated with chocolate or peanut butter for an added layer of flavor. This no-bake dessert is easy to prepare and makes for a great snack or party treat.
How do you store Butterfinger Balls?
To keep Butterfinger Balls fresh, store them in an airtight container in the refrigerator. They can last up to two weeks when properly stored. For longer storage, consider placing them in the freezer. Just be sure to separate layers with parchment paper to prevent sticking. When ready to enjoy, let them sit at room temperature for a few minutes before serving for the best texture.
Can I use other types of candy for Butterfinger Balls?
Absolutely! While the classic version uses Butterfinger bars, you can experiment with other candies like Reese’s Peanut Butter Cups or Snickers for different flavors. Adjust the amount of cream cheese and powdered sugar as needed to achieve a similar consistency. This flexibility allows you to customize your Butterfinger Balls according to your preferences or what you have on hand.
Are Butterfinger Balls suitable for special diets?
Butterfinger Balls can be modified to fit various dietary needs. To make them gluten-free, ensure that all ingredients, especially any chocolate coating, adhere to gluten-free standards. For a vegan version, substitute cream cheese with a plant-based alternative and use dairy-free chocolate. Be mindful of sugar content if you’re considering low-sugar options; many alternatives can work just as well.
Conclusion for Butterfinger Balls :
Butterfinger Balls are a deliciously simple treat that combines the iconic flavors of Butterfingers with a creamy filling. Their ease of preparation makes them perfect for gatherings or as an everyday snack. By customizing ingredients, you can cater to various dietary preferences without sacrificing taste. Whether enjoyed fresh from the fridge or at room temperature, these delightful bites are sure to satisfy any sweet tooth craving. Enjoy making this fun recipe and sharing it with friends and family!
Butterfinger Balls
Butterfinger Balls are a nostalgic no-bake treat that marries creamy peanut butter with a luscious chocolate coating, delivering a sweet and crunchy experience in every bite. Perfect for gatherings or as an indulgent snack, these bite-sized delights will bring joy to your taste buds and make any occasion memorable. With just a handful of simple ingredients and easy preparation steps, you’ll be whipping up these delightful confections in no time!
- Prep Time: 20 minutes
- Cook Time: 10 minutes
- Total Time: 30 minutes
- Yield: Approximately 24 servings 1x
- Category: Dessert
- Method: No-bake
- Cuisine: American
Ingredients
- 1 cup graham cracker crumbs
- 1 cup creamy peanut butter
- 1 cup powdered sugar
- 1 cup semi-sweet chocolate chips
- 1 tsp vegetable oil
Instructions
- Prepare Your Workspace: Clear your counter and line a baking sheet with parchment paper.
- Mix the Base: In a large bowl, combine graham cracker crumbs, peanut butter, and powdered sugar until well-blended.
- Form the Balls: Scoop tablespoon-sized portions of the mixture and roll them into balls. Place on the baking sheet and refrigerate for 30 minutes.
- Melt the Chocolate: In a microwave-safe bowl, melt chocolate chips with vegetable oil in short bursts until smooth.
- Coat Each Ball: Dip each chilled ball into the melted chocolate using two forks for even coverage. Allow excess chocolate to drip off.
- Chill Again: Return coated balls to the fridge for another hour to set.
Nutrition
- Serving Size: 1 ball (25g)
- Calories: 100
- Sugar: 8g
- Sodium: 50mg
- Fat: 6g
- Saturated Fat: 2g
- Unsaturated Fat: 4g
- Trans Fat: 0g
- Carbohydrates: 10g
- Fiber: 0g
- Protein: 2g
- Cholesterol: 0mg
Keywords: - For added flavor, sprinkle sea salt on top of the chocolate before it sets. - Experiment with different types of nut butters or chocolate for unique variations.

