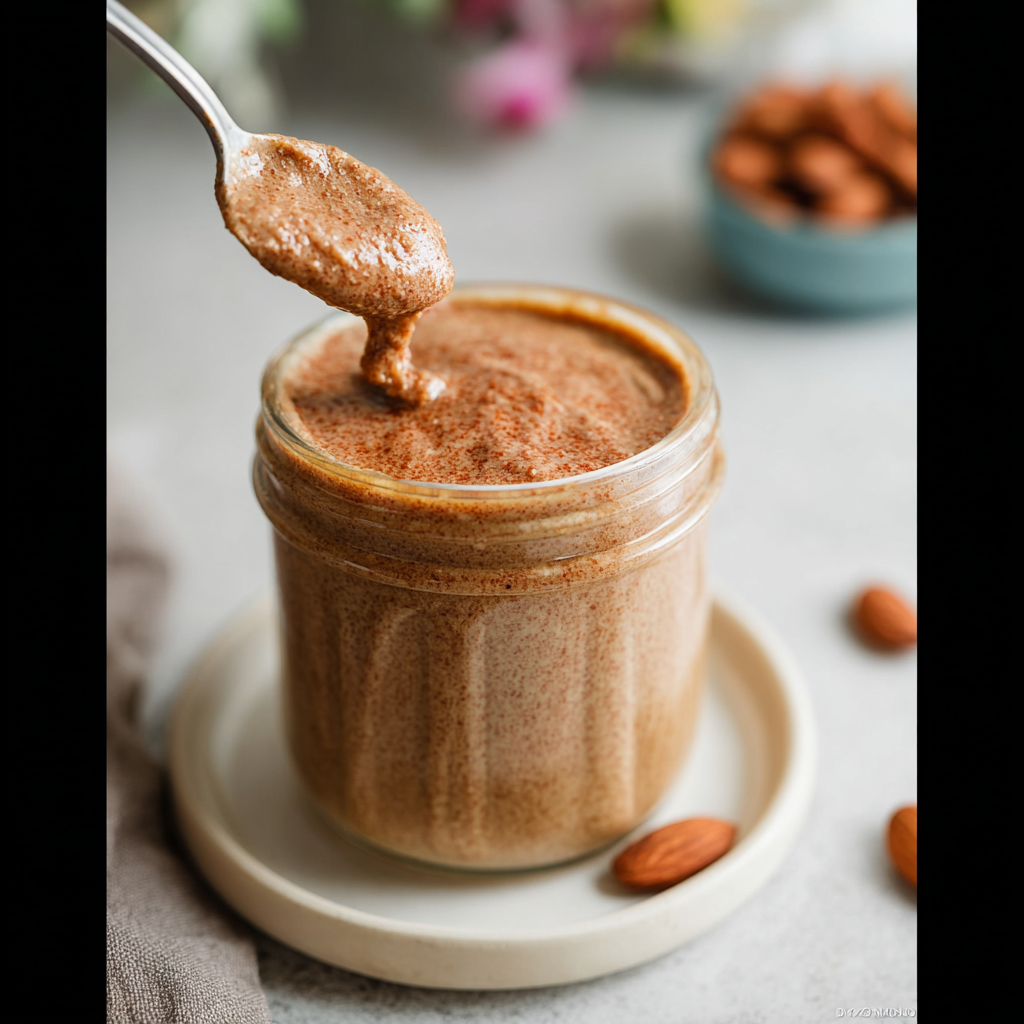
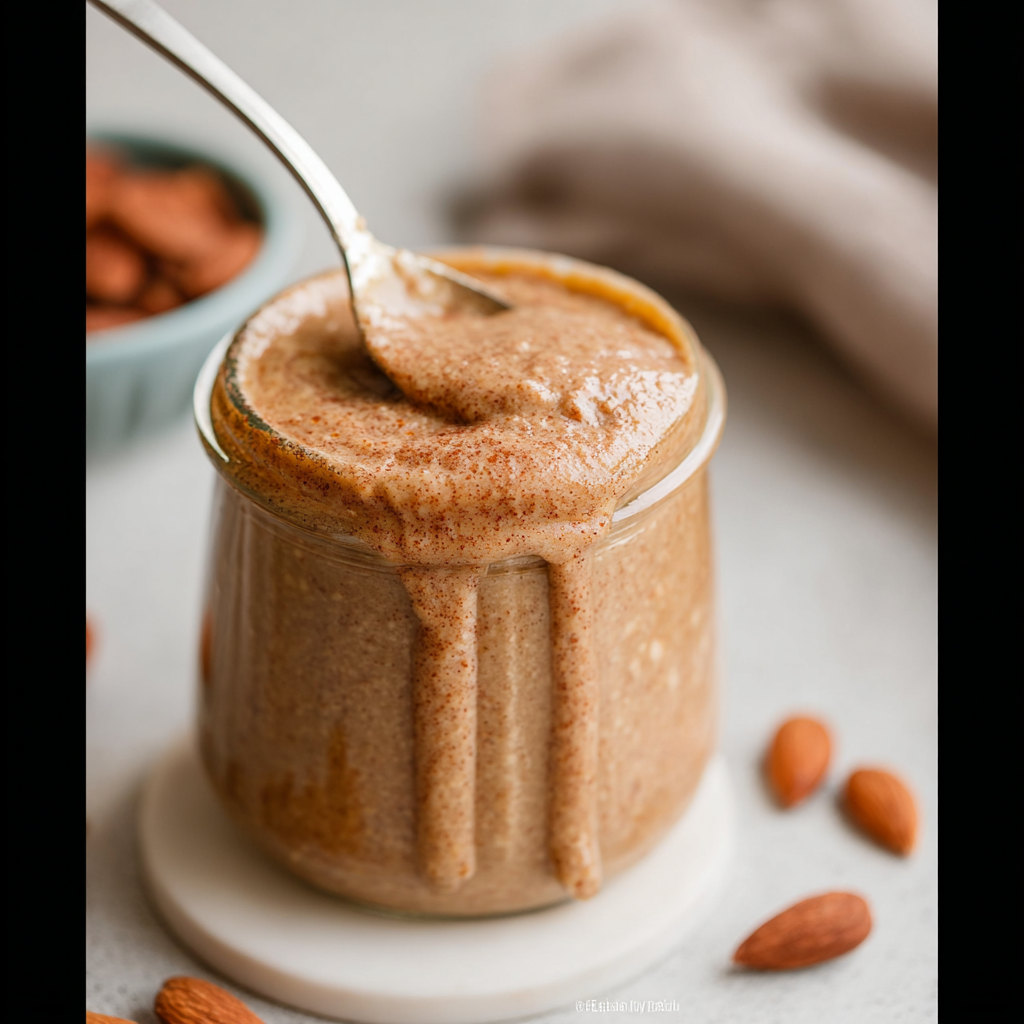
The creamy, dreamy world of homemade almond butter awaits you! Picture this: a velvety spread that’s not just delicious but also packed with nutrients and flavor. It’s the kind of indulgence that makes your morning toast feel like a gourmet experience, turning even the simplest breakfast into a culinary delight.

Remember the first time you tried almond butter? That moment when the smooth, nutty flavor danced across your taste buds, and you thought, “Why on earth haven’t I been doing this all my life?” Whether it was slathered on warm pancakes or swirling into your oatmeal like a hug from the inside, almond butter is one of those magical creations that deserves to be made in every kitchen. So, let’s dive into this delightful recipe that will elevate your snack game!
Why You'll Love This Recipe
- Making your own homemade almond butter is incredibly easy and requires just one ingredient—almonds!
- The rich, nutty flavor will have your taste buds singing.
- You’ll love how customizable it is; add honey, salt, or even chocolate for a decadent twist.
- Its smooth texture makes it perfect for spreading on toast or adding to smoothies.
Ingredients for Homemade Almond Butter
Here’s what you’ll need to make this delicious dish:
-
Raw Almonds: About 2 cups of raw almonds are perfect for making creamy almond butter. Look for high-quality nuts without additives.
The full ingredients list, including measurements, is provided in the recipe card directly below.

How to Make Homemade Almond Butter
Follow these simple steps to prepare this delicious dish:
Step 1: Gather Your Tools
Before we get all chef-y in the kitchen, gather a good food processor. This trusty gadget will turn those stubborn almonds into silky smooth almond butter.
Step 2: Roast the Almonds (Optional)
If you want to amp up the flavor profile (and who doesn’t?), preheat your oven to 350°F (175°C). Spread those raw almonds on a baking sheet in a single layer and roast them for about 10-12 minutes until they’re lightly golden and fragrant. Just don’t forget about them; burnt almonds are a sad fate indeed!
Step 3: Process Away
Once roasted (or if you’re skipping that step), toss those almonds into the food processor. Start processing on high speed. At first, they’ll look like flour; don’t panic! Keep going until they transform into a creamy dream—this usually takes about 10 minutes.
Step 4: Scrape Down the Sides
Halfway through processing, pause and scrape down the sides of the bowl. This ensures everything gets blended evenly because we want every last bit of nutty goodness brought together.
Step 5: Add Flavor (Optional)
Once you’ve achieved your desired creaminess, it’s time to personalize! You can add a pinch of salt for balance or drizzle in some honey or maple syrup for sweetness. Blend again until well combined.
Step 6: Store It Right
Scoop your luscious almond butter into an airtight container and store in the fridge. It’ll last about two weeks—if you can resist eating it all before then!
Transfer to plates and drizzle with sauce for the perfect finishing touch. Enjoy spreading it over toast, stirring it into smoothies, or simply enjoying it by the spoonful (we won’t tell!).
You Must Know
- This delightful Homemade Almond Butter not only makes your toast sing but also transforms your smoothies into creamy masterpieces.
- With a few simple ingredients, you’ll create a spread that’s healthy, satisfying, and ridiculously easy to whip up.
- Perfect for breakfast or a snack on the go!
Perfecting the Cooking Process
Start by roasting your almonds for 10-12 minutes to enhance their flavor. Allow them to cool slightly before blending. Scrape down the sides of your food processor occasionally to ensure even mixing, and watch as they transform into velvety almond butter.
Add Your Touch
Feel free to customize your Homemade Almond Butter! Add a pinch of sea salt for contrast or a tablespoon of honey for sweetness. Experiment with flavors like cinnamon or vanilla extract to make it uniquely yours.
Storing & Reheating
Store your Homemade Almond Butter in an airtight container in the refrigerator for up to two weeks. No reheating is necessary; simply scoop out what you need and enjoy it cold or at room temperature.
Chef's Helpful Tips
- To make smooth almond butter, ensure your almonds are fresh and not too old.
- A little patience goes a long way when blending; let the processor do its magic.
- Consider adding coconut oil if you prefer a creamier texture.
Sometimes I still remember the first time I made homemade almond butter. My friends devoured it, asking if I had sold my soul to some nutty deity for this creamy delight!
FAQs:
What are the health benefits of Homemade Almond Butter?
Homemade almond butter is packed with nutrients. It is rich in healthy fats, protein, and fiber. These components can help support heart health, improve digestion, and maintain a healthy weight. Almonds contain antioxidants that may reduce inflammation and lower the risk of chronic diseases. The vitamin E content in almond butter also contributes to skin health and enhances immune function. Making your own almond butter allows you to control the ingredients, ensuring it’s free from unnecessary additives.
How long does Homemade Almond Butter last?
When stored properly, homemade almond butter can last for about two weeks in the refrigerator. You can extend its shelf life by freezing it, where it may stay fresh for up to six months. To maintain quality, always use a clean spoon when scooping out almond butter from the jar. This prevents introducing bacteria and mold, which can spoil the nut butter faster.
Can I make Homemade Almond Butter without oil?
Yes, you can make homemade almond butter without adding any oil. The natural oils released from the almonds during blending will create a creamy texture. If you find that it’s too thick for your liking, consider adding a small amount of neutral oil like grapeseed or coconut oil until you reach your desired consistency. However, many prefer to enjoy pure almond flavor without any added oils.
What can I use Homemade Almond Butter for?
Homemade almond butter is incredibly versatile! You can spread it on toast or pancakes for breakfast or use it as a dip for fruits like apples or bananas. It also works well in smoothies, oatmeal, and baked goods such as cookies or muffins. Additionally, you can incorporate it into savory dishes by adding it to sauces or dressings for an extra layer of flavor.
Conclusion for Homemade Almond Butter:
In summary, making homemade almond butter is a simple and rewarding process that offers numerous health benefits. By using just almonds and possibly a pinch of salt, you can create a delicious spread that enhances various meals and snacks. The freshness of homemade versions surpasses store-bought options since you avoid preservatives and additives. Plus, customizing your almond butter means you get exactly what you want in terms of flavor and texture. Enjoy this nutritious treat as part of your balanced diet!
Homemade Almond Butter
Indulge in the creamy goodness of homemade almond butter with this easy recipe that transforms just two cups of raw almonds into a deliciously nutritious spread. Perfect for toast, smoothies, or enjoying straight from the jar, this almond butter is easily customizable with sweeteners or spices to match your taste. Experience the rich, nutty flavor and health benefits of crafting this delightful treat in your own kitchen.
- Prep Time: 15 minutes
- Cook Time: 12 minutes
- Total Time: 27 minutes
- Yield: Approximately 16 servings (1 tablespoon each) 1x
- Category: Snack
- Method: Blending
- Cuisine: American
Ingredients
- 2 cups raw almonds
Instructions
- Preheat your oven to 350°F (175°C). Spread almonds on a baking sheet and roast for 10-12 minutes until fragrant.
- Allow almonds to cool slightly, then transfer them to a food processor.
- Process on high speed for about 10 minutes until smooth, stopping to scrape down the sides as needed.
- Optional: Add a pinch of salt or sweetener like honey or maple syrup; blend again until combined.
- Store in an airtight container in the refrigerator for up to two weeks.
Nutrition
- Serving Size: 1 tablespoon (16g)
- Calories: 98
- Sugar: 0.5g
- Sodium: 1mg
- Fat: 9g
- Saturated Fat: 0.7g
- Unsaturated Fat: 7g
- Trans Fat: 0g
- Carbohydrates: 3g
- Fiber: 1.6g
- Protein: 3.4g
- Cholesterol: 0mg
Keywords: For a creamier texture, consider adding a teaspoon of coconut oil during blending. Experiment with flavors by incorporating cinnamon or vanilla extract for a personalized touch.


